Connecting your audio gear shouldn’t be a source of frustration, yet many users find themselves stuck when trying to figure out how to pair Beats headphones for the first time. Whether you have just unboxed a brand-new pair of Beats Studio Pro or are trying to revive an older pair of Beats Solo 3, the underlying process relies on the standardized Bluetooth protocol that allows your device to communicate seamlessly with your audio hardware.
Understanding the nuances of the pairing mode and how to navigate your smartphone or computer’s settings is the key to unlocking the high-quality audio experience these products are known for. By following a structured approach, you can ensure that your hardware is discoverable and ready to sync with virtually any modern gadget.
Understanding the Mechanics of Pairing Mode
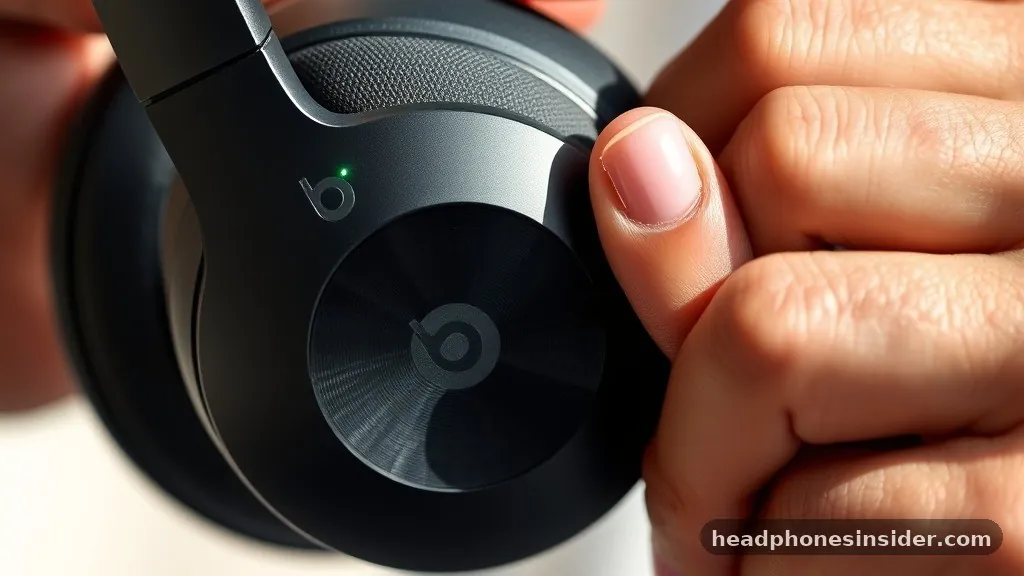
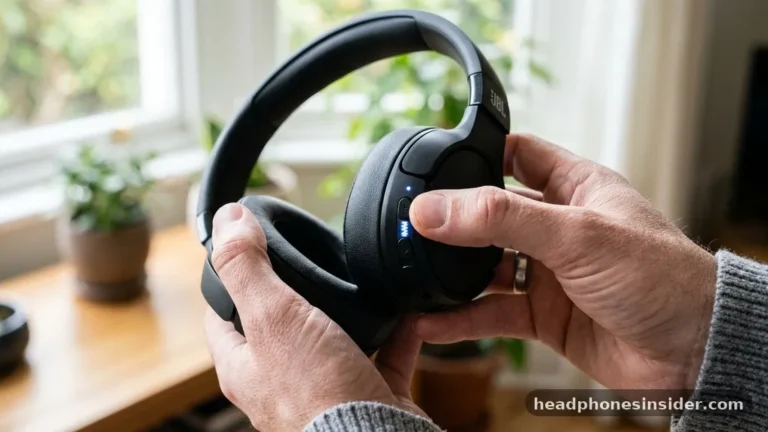
To initiate a connection, your Beats headphones must be placed into a state of active search known as pairing mode. You can put your Beats headphones into pairing mode by turning the device off and then holding the power button down for about five seconds until the LED light begins to flash.
This visual indicator is your signal that the internal antenna is actively broadcasting a signal, waiting for a nearby host to handshake and finalize the connection. If the LED does not blink, the headphones are likely not in the correct state to be recognized by your host, and you should cycle the power to restart the process.
Most modern wireless headphones from the Beats lineup operate on a similar logic. When you press hold the power button, the internal firmware instructs the Bluetooth module to stop looking for previously connected devices and instead become visible to new ones. This is a critical distinction, as Bluetooth is designed to prioritize known connections to save battery life and reduce interference.
By forcing the hardware into this discovery state, you are effectively wiping the slate clean and inviting a new device to register a link. If you are using a model that features a dedicated button, such as the Beats Pill or specific earbuds, the location of this button might vary, but the behavioral expectation—a blinking light—remains the industry standard for this process.
Connecting Beats to Apple Devices
Apple has streamlined the process of connecting audio equipment through its proprietary ecosystem, making it incredibly simple to integrate your gear if you use an iPhone or iPad. When you bring your headphones near an unlocked Apple device, a pop-up window should automatically appear on your screen.
You simply need to tap the connect button and follow onscreen prompts to finalize the setup. This integration leverages the W1 or H1/H2 chipsets found in modern Beats products, allowing for a seamless transition between your various Apple gadgets without needing to manually toggle Bluetooth settings every time you switch from your phone to your tablet.
If the automatic prompt does not appear, you can still manually manage the connection by navigating to the settings menu. Within the Bluetooth section, you will see a list of available hardware. Once you have initiated the pairing mode on your headphones, they will appear under the “Other Devices” or “Available Devices” category.
Selecting them from this list triggers the authentication process. It is important to note that once paired with one device signed into your iCloud account, your Beats will often be automatically available to all your other Apple hardware, effectively syncing your preferences across your entire digital ecosystem. This deep level of apple ecosystem integration is one of the primary reasons many users choose these headphones over third-party alternatives.
Integrating Beats Headphones with Android Devices
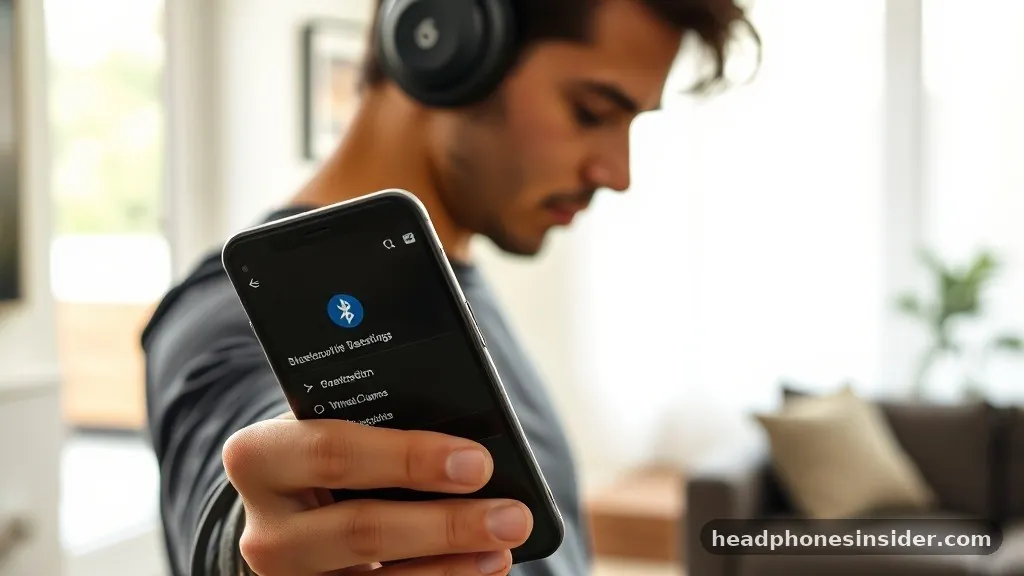
While the integration is tighter with Apple, using Beats with an Android phone or tablet is perfectly straightforward. The most efficient way to manage this is to download the Beats app from the Google Play Store. This software provides an interface that mimics the Apple experience, giving you control over battery status, firmware updates, and connection management.
To begin, ensure your headphones are in pairing mode by holding the power button until the light flashes. Open your Android phone’s Bluetooth menu, ensure the toggle is turned to the “On” position, and wait for the model name to appear in the list of scannable hardware.
Once the name of your headphones appears on the screen, select it to initiate the pairing request. You may receive a prompt asking for permission to pair; click “Pair” or “Accept.” After the initial handshake, your phone and headphones will remember each other, meaning you won’t need to repeat this process unless you manually “forget” the device in your settings.
For those who want more granular control, the Beats app is highly recommended. It allows you to customize the sound profile, adjust noise-canceling settings, and monitor the battery level of each earbud individually, ensuring that you get the most out of your listening experience regardless of the operating system you prefer.
Troubleshooting Common Connection Issues
Even with the best technology, you may occasionally run into issues where your headphones refuse to show up or drop the signal unexpectedly. If your headphones are not appearing in your Bluetooth list, the most common culprit is that they are still trying to connect to a previously paired device that is nearby. To resolve this, disable Bluetooth on your other devices or move them out of range.
If the problem persists, perform a hard reset on the headphones. This usually involves holding the power button and the volume-down button simultaneously for about ten seconds until the LED flashes red and white, signaling that the factory reset is complete.
Another frequent issue involves the headphones appearing in the list but failing to complete the handshake. This is often caused by outdated firmware or a conflict in the Bluetooth cache. Clearing your device’s Bluetooth history—by selecting “Forget This Device” and then restarting the discovery process—often clears the digital cobwebs.
Additionally, ensure that your phone or computer has the latest operating system updates installed. Manufacturers frequently release patches that improve the stability of wireless protocols. If you are struggling with a specific model, you can consult the official Apple Support documentation for device-specific troubleshooting steps that can help clarify the exact behavior of your hardware.
Comparing Connection Methods Across Platforms
The experience of connecting your gear can vary significantly depending on the host hardware. The following table illustrates the typical differences in the pairing process across common platforms, highlighting why certain workflows are more efficient than others.
| Platform | Primary Method | Benefit |
|---|---|---|
| Apple (iOS/macOS) | Proximity Auto-Pairing | Instant synchronization across iCloud |
| Android | Bluetooth Settings/Beats App | Full feature access via app support |
| Windows PC | System Bluetooth Menu | Universal compatibility |
| Gaming Consoles | Manual Discovery Mode | Direct audio input |
As shown, while the underlying technology is the same, the software interface plays a massive role in usability. Windows users, for instance, must rely on the manual discovery method, as there is no native “pop-up” interface for Beats products on a PC.
This requires a deeper understanding of how to enter pairing mode manually, as you must navigate through the Windows taskbar settings to locate the device manually. Knowing these distinctions prevents unnecessary frustration when you find that one device connects instantly while another requires a more hands-on approach to get the audio flowing.
Advanced Tips for Seamless Audio Management
To truly master your hardware, you should understand how to manage multiple connections and optimize your settings. Many Beats models support multipoint-like functionality, or at least quick-switching, which allows you to move between devices more fluidly.
If you find yourself constantly toggling connections, consider which device is your “primary” source. By keeping your headphones updated through the Beats app or through the native settings on your Mac, you ensure that the internal communication protocols remain compatible with the latest Bluetooth standards.
When you use beats headphones, you should also be mindful of your environment. Bluetooth operates on the 2.4GHz frequency, which is shared by Wi-Fi routers and microwave ovens. If you experience interference or stuttering, try moving away from high-traffic wireless areas.
Furthermore, keeping your power button and charging ports clean can prevent issues where the hardware fails to register a long press, which is the most frequent cause of “failed” pairing attempts. Taking a moment to maintain your device ensures that the wireless handshake remains strong, providing a consistent, high-fidelity experience every time you put your headphones on to enjoy your favorite music or take a call.
Frequently Asked Questions
Why do my Beats not show up on my Bluetooth list?
If your headphones aren’t appearing, they are likely not in discovery mode or are still connected to another device. Ensure they are fully charged, turn off Bluetooth on nearby devices, and hold the power button until the LED flashes to force them back into pairing mode.
How do I put my Beats headphones into pairing mode?
For most models, turn the headphones off, then press and hold the power button for about five seconds. The LED light will start blinking, which indicates the device is now discoverable. If you have a specific model with a dedicated button, check your manual for the exact location.
Can I connect my Beats to two devices at once?
While some newer models support advanced switching, most Beats headphones are designed to connect to one primary source at a time. To switch, you usually need to disconnect from the first device via its Bluetooth settings before the headphones will allow a new device to initiate a connection.
What should I do if the pairing fails repeatedly?
If the connection keeps failing, perform a factory reset by holding the power and volume-down buttons for ten seconds. Afterward, “forget” the headphones in your device’s Bluetooth settings, restart your phone or computer, and attempt the initial pairing process from the very beginning.
Successfully managing your connection is a skill that makes your audio setup feel like a natural extension of your technology. By mastering the sequence of entering discovery mode and navigating your device’s settings, you eliminate the friction that often prevents a smooth start to your listening session. Whether you are using an Apple device that handles the handshake automatically or an Android setup that benefits from the dedicated app, the core principle remains the same: clear the cache, ensure the hardware is visible, and wait for the confirmation signal.
As you become more familiar with these patterns, you will find that pairing becomes second nature, allowing you to focus entirely on the quality of your sound rather than the technicalities of the connection. Take a moment to test your setup across all your devices, and you will be ready to enjoy your audio whenever and wherever you need it.